Once I found instructions on how to make a nail file envelope, which I embraced, because me too, I never have such a file when I need it and I don’t like to search ‘free’ nail files in the depths of my bag.
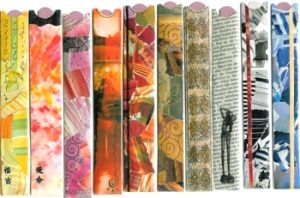
I’m not much of a stamper (although I would like to be ;-)), so I made them with my own with markers and a little moist coloured tissue papers, I collaged them from magazines and I made them from doodled coffee-dyed newspaper (see second photo).
 Because I own 5 cm wide clear packaging tape (a little less than 2 inches), I made the envelopes slender enough to cover them completely with the tape. This way they are sturdier and more robust in the depths of my bag ;-)
The nail file envelopes are a lot of fun to make and a very good giveaway at nearly everybody. Even men took them voluntarily! ;-)
Most fun for everybody is, when I present the whole range of my nail file envelopes and everybody can select their own.
Links:
Nail File Envelope


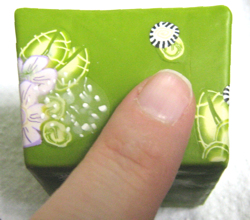 On this picture you see one side of the box. The finger isn’t there by accident, but to show how small the box is ;-))
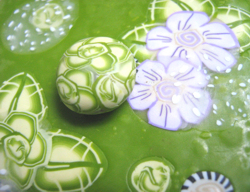 This is a close-up from the lid. You can see the purple
  Just a last close-up.