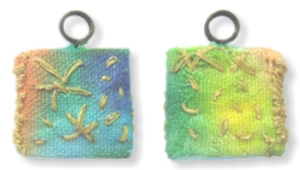
One day I wanted to have a pendant-to-be-embellished and decided to create it myself.
On the photo you see both sides of a charm of about 1,5 cm (appr. 0.6 inches) which I embellished with self-dyed fabric and some metallic yarn embroidery.
The embellishment isn’t quite what I dreamed of, but the core pendant worked well.
This is how I did it:
You need:
- some cardboard (the thickness of the middle piece must be about the same as the wire)
- some wire
- glue
 img 1: Cut 3 equal pieces of your cardboard.
 img 2: Wrap the wire round a dowel to form the eye. Then turn a couple of times to form the peg and then form a bigger eye which will be hidden in the pendant.
Note: I prefer the hidden part of the wire to be an eye because then the wire can’t be dragged out by accident.
 img 3: Take the cardboard piece which will sit in the middle and trace your hanger.
 img 4: Cut out the place you will need for the hanger.
 img 5: Glue the hanger and the middle cardboard pieces onto one outer cardboard piece.
Note: I glue on also the cardboard piece in the eye to prevent having a hollow.
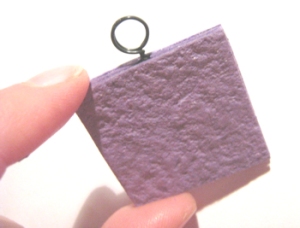 img 6: Glue the other outer cardboard piece onto. Your pendant-to-be-embellished is finished and you may begin with the embellishments.


img 7 & 8: This is a solution for a 2-eyed pendant.
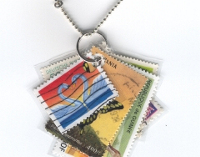
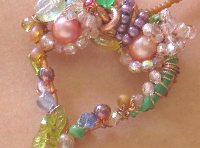
There are so many ways to embellish your self-made pendant (mini collages, painted, beaded, stamped etc), I’d love to see them.
Please feel free to comment here to show your trinkets.
Have fun!




 img 1: Cut 3 equal pieces of your cardboard.
 img 2: Wrap the wire round a dowel to form the eye. Then turn a couple of times to form the peg and then form a bigger eye which will be hidden in the pendant.
 img 3: Take the cardboard piece which will sit in the middle and trace your hanger.
 img 4: Cut out the place you will need for the hanger.
 img 5: Glue the hanger and the middle cardboard pieces onto one outer cardboard piece.
 img 6: Glue the other outer cardboard piece onto. Your pendant-to-be-embellished is finished and you may begin with the embellishments.
