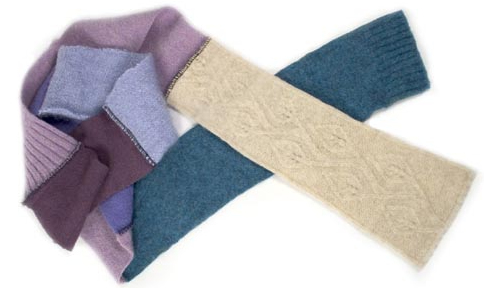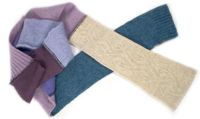
Once I found an instruction on how to make a scarf from felted old sweaters but the website doesn’t exist anymore.
The photo is from the website, click to enlarge.
That’s how they did it:
- Wash sweaters from 100% wool (mohair works fine, too) with some laundry detergent.
- Felt in dryer.
Felting makes the fabric so dense that it doesn’t unravel when cut.
- Cut stripes from the sweaters in the width you want the scarf to be.
The lengths will vary depending on the part of the sweater where you cut the piece.
In the instruction they used mainly the arms.
- Eventually simply sew the pieces together, whether with a sewing machine or by hand.
The seam can be used as a decorating element.
- The scarf can subsequently be embellished: with buttons, felted flowers, beads, pom-poms, fringes, embroidery and so on.
In fact I would like to have a cardigan-kind garment made with this technique, no scarf.
Therefore I went to several second hand stores to look for wool sweaters but found mostly sweaters from artificial material which don’t felt.
But I stay tuned ;-)
Links:
The original website that doesn’t exist anymore
Here at unikatissima: Entries with the tag ‘felting’
 (click to enlarge)
Recently something took me and I thought that you can use those two-coloured charts which are usually associated with filet crochet or cross stitch for a loooot of other techniques, too.
I had this idea already before, in my entries about intarsia knitting, the cross stitch heart, the beaded square stitch heart and the polymer clay letter cane.
On the photo you see some letters worked in different techniques (I’m working on letter charts at the moment ;-)):
'u' - Knit-Purl Knitting, each X is a purl stitch
'n' - Fair Isle Knitting, each X is a white stitch
'i' - Sequins Embroidery, each X is a sequin
'k' - Tapestry Crochet, each X is a white stitch
'a' - Filet Crochet, each X is a filled filet crochet square
't' - Cross Stitch Embroidery on paper, each X is a black cross stitch
'i' - Loom Beading, each X is a black bead
's' - Stamping with square stamps, each X is a black square stamp
's' - Illusion Knitting, each X is a black stitch over two rows
'i' - Crochet Yoyo’s, each X is a white crochet circle from dc’s
'm' - Inverted Filet Crochet, each X is a empty filet crochet square
'a' - Macramée/Friendship Bracelet, each X is a white knot
But then I came up with more techniques and if you still have more ideas I’d be glad if you wrote a comment about.
I added for every technique what would be a square of the chart.
Please remember: Not all ‘units’ are square so that the result can look quite different from the chart!
Knitting
Crochet
- Tapestry Crochet – 1 stitch
- Filet Crochet – 1 filet square (cross = filled square)
- Inverted Filet Crochet – 1 filet square (cross = empty square)
- Crochet Yoyo’s – 1 Crochet Yoyo, viz. a crochet circle from dc’s
Beading
Embroidery
Knotting
Weaving
Sewing
- Patchwork/Quilting – e.g. 1 patchwork square
- Yoyo’s – 1 Yoyo
- Fabric Origami – 1 fabric origami square
Other
By the way I found an blog entry of an embroiderer who thought about the same subject and has more ideas.
Links:
 Double Knitting
Picture for sequin embroidery (scroll down to about the middle)
Description of French Knot
Heather’s Friendship Bracelets – Alphabet Patterns
Geometric stitching
Google image search result for ‘yoyo blanket’
Google image search result for ‘ministeck’
Here at unikatissima:
Celtic Cross Stitch Generator
Heart Template (at Beaded Square Stitch Heart)
Patchwork Knitting
Bead Knitting
Illusion knit
Tapestry Crochet
Beautiful Filet Crochet Patterns
Loom Woven Bead Bracelet
Beaded Square Stitch Heart
Bead Knitting
Freeform Bead Embroidery
Bead embroidered Paisleys
Friendship Bracelet
Crazy Daisies
Crazy Daisies II
Tablet or Card Weaving
YoYo Pin
Fabric Origami
Mosaic Table Light (Glass Paint)
Polymer Clay Letter Cane
Mosaic from Plaster
Eraser Stamps
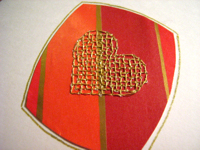
Valentine’s Day makes everything more heart-ily somehow ;-))
Besides I wanted to show what you can do else with the heart template of the day before yesterday (Beaded Square Stitch Heart), viz. a really nice cross stitch heart.
I didn’t have any Aida fabric or similar, besides I always prefer to embroider on paper or fine cardboard ;-)
I therefore glued some plain gift wrap paper on fine cardboard, pre-pricked the holes (which you should always do when embroidering on paper) and embroidered my heart with metallic sewing threads (instructions on how to embroider the cross stitch see links below).
Subsequently I connected the border holes, cut the cardboard into a nicer shape and glued it on a greeting card.
I really like it ;-)
 Click picture to enlarge and then simply print.
Links:
Kids Stitch Diagrams and Instructions Part I
Tutorial moved to: Kids Stitch Diagrams and Instructions Part I => scroll down
At Embroiderers’ Guild: Cross Stitch
What else you can do with cross stitches (at Embroiderers’ Guild also):
Pattern Making with Cross Stitch
Flinkhands Kreuzstichanleitung (German)
At crossstitch.about.com: About Aida fabric
At Wikipedia: Stramin (German)
Here at unikatissima: entries with the words ’embroidery on paper’,
especially the Paper Crazy Quilt and the Crazy Quilt Photo Frame
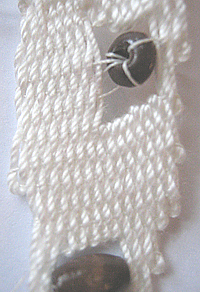
Once a found an instruction on how to work an african necklace using needle weaving (also called ‘pin weaving’). It’s a weaving technique that allows to easily create strange shaped fabrics and to incorporate beads into.
Stunning!
I played around with this technique and thought that it could as well be used for little bags, for bracelets and so forth.
Unfortunately it’s a technique that requires a lot patience – which I don’t have. ;-)
I’d love to hear what you think about!
Links:
African Needle Weaving Necklace

I like yoyo’s, but only recently I tried to make one. And I find it cute.
It is made from shiny polyester fabric and embellished with a little crocheted flower and some embroidered beads (I hate to have polyester on my skin, but I like it for pins and the like, because it is so shiny).
Links:
Yoyo Projects (with explaining pictures)
How to make a Yoyo (with explaining pictures)
The links don’t work anymore, you can find the information here now:
Yoyo Projects (with explaining pictures)
How to make a Yoyo (with explaining pictures)
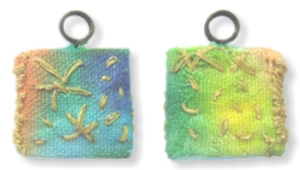
One day I wanted to have a pendant-to-be-embellished and decided to create it myself.
On the photo you see both sides of a charm of about 1,5 cm (appr. 0.6 inches) which I embellished with self-dyed fabric and some metallic yarn embroidery.
The embellishment isn’t quite what I dreamed of, but the core pendant worked well.
This is how I did it:
You need:
- some cardboard (the thickness of the middle piece must be about the same as the wire)
- some wire
- glue
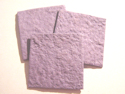 img 1: Cut 3 equal pieces of your cardboard.
 img 2: Wrap the wire round a dowel to form the eye. Then turn a couple of times to form the peg and then form a bigger eye which will be hidden in the pendant.
Note: I prefer the hidden part of the wire to be an eye because then the wire can’t be dragged out by accident.
 img 3: Take the cardboard piece which will sit in the middle and trace your hanger.
 img 4: Cut out the place you will need for the hanger.
 img 5: Glue the hanger and the middle cardboard pieces onto one outer cardboard piece.
Note: I glue on also the cardboard piece in the eye to prevent having a hollow.
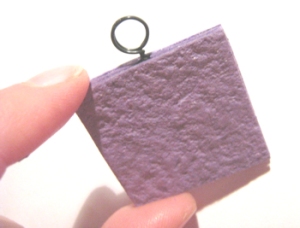 img 6: Glue the other outer cardboard piece onto. Your pendant-to-be-embellished is finished and you may begin with the embellishments.
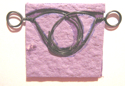

img 7 & 8: This is a solution for a 2-eyed pendant.
There are so many ways to embellish your self-made pendant (mini collages, painted, beaded, stamped etc), I’d love to see them.
Please feel free to comment here to show your trinkets.
Have fun!
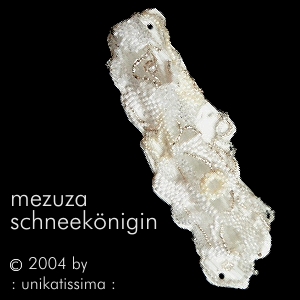 The mezuza case Schneekönigin consists of a little glass tube that is fixed on a sturdy white base. I encased the glass tube with a hand woven bead fabric in Peyote freeform technique.
Ice white, snow white, clear white, pearl white, egg shell white and a little silver
Length: ca. 12 cm
 The Photoleporello Fantasia is a handmade leporello with five double pages and several matching bookmarks.
Mixed Media
ca.10 x 15 cm
given away
 The cover is decorated with a crazy quilt made from different handmade papers with embroidery, metal embellishments, funky yarn and little beads.
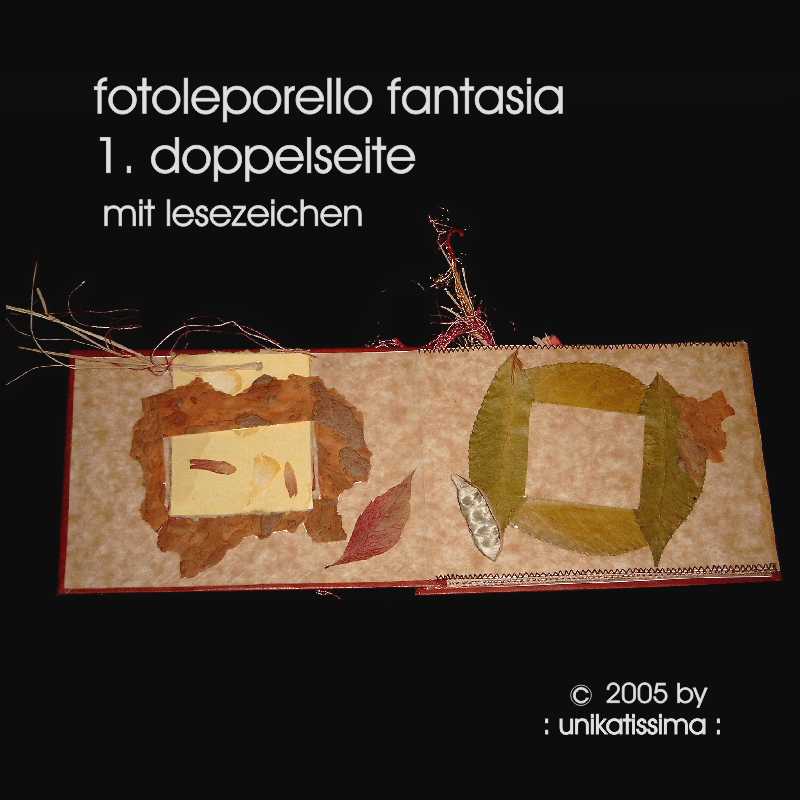 The first double page contains two photo frames made from real fall leaves and bark.
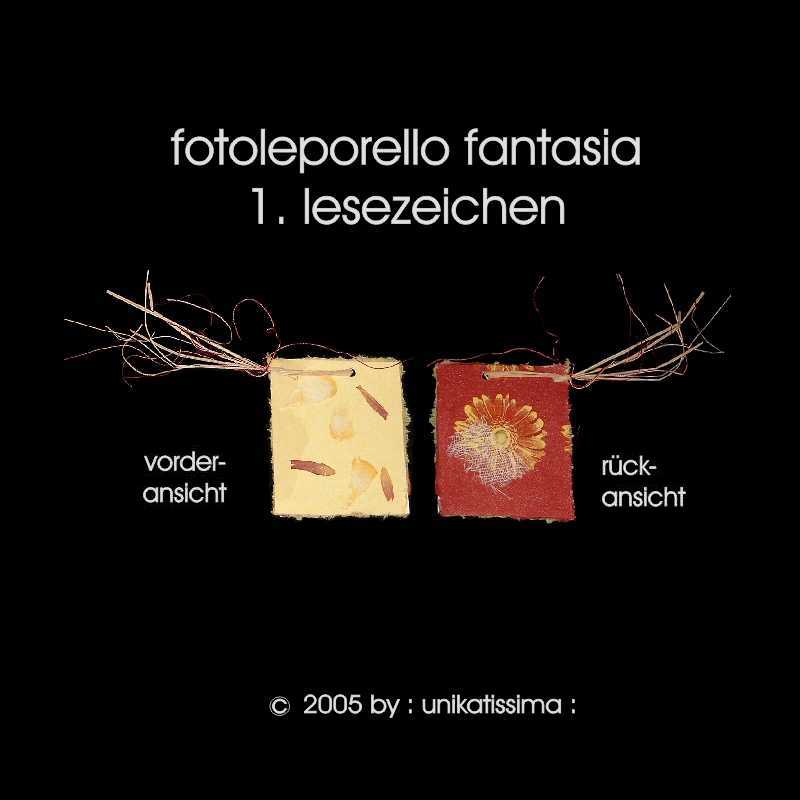 The first bookmark is embellished on one side with handmade paper with real flowers and on the other with flower patterned paper.
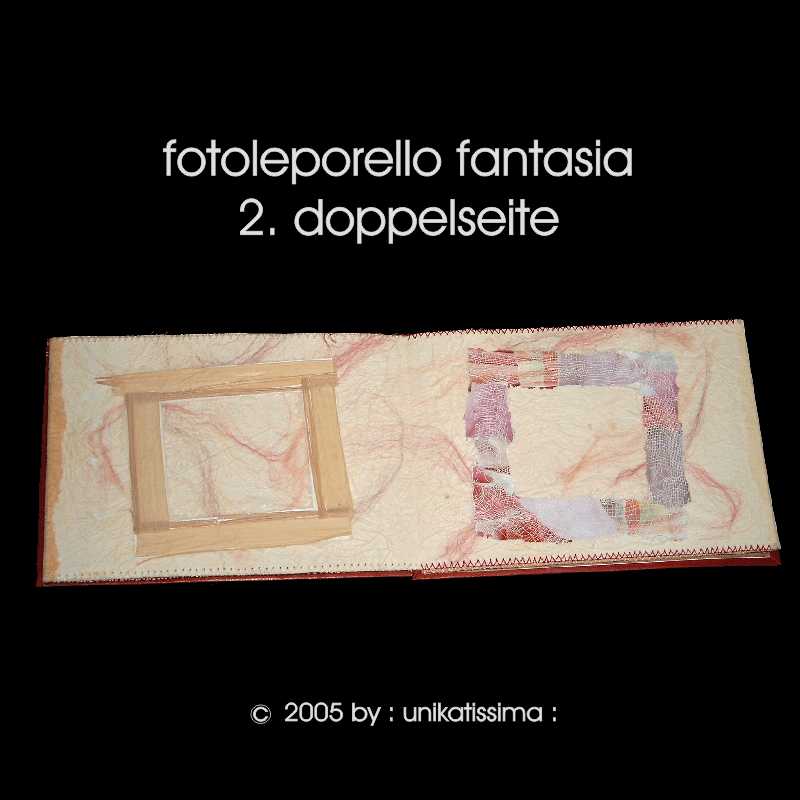 The second double page contains two photo frames made from raffia and fabric on handmade paper with fibers.
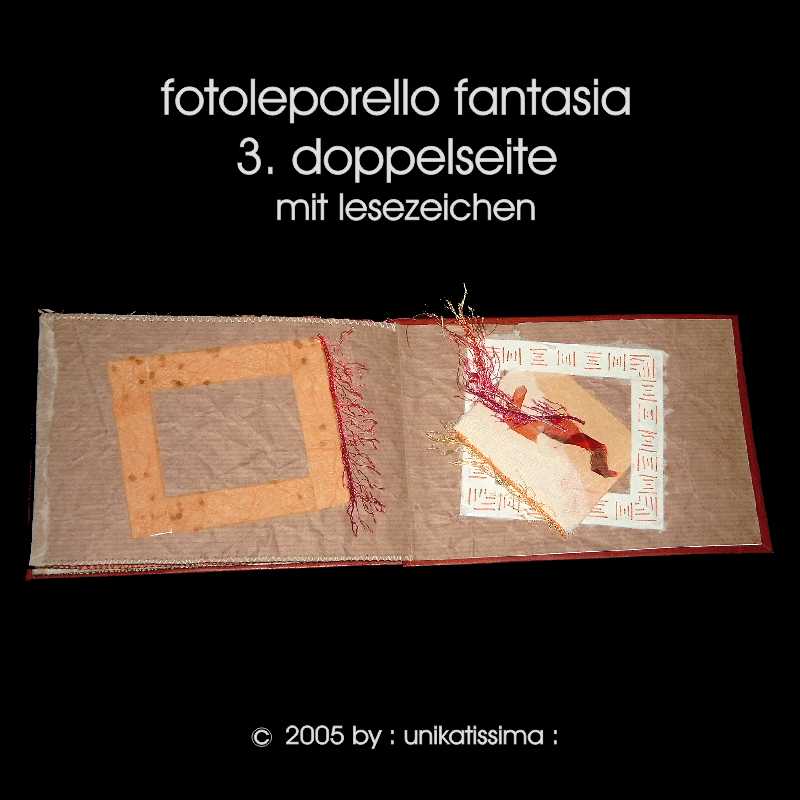 The third double page contains two photo frames made from handmade papers, embellished with funky yarn and hand embroidery.
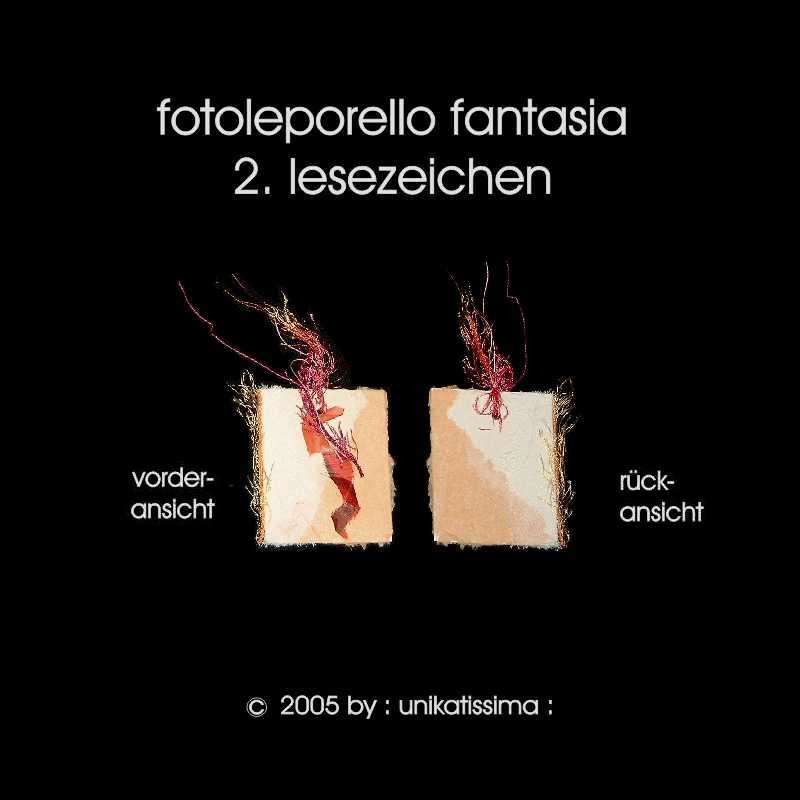 The second bookmark is partly made with handmade papers and embellished with different yarns.
 The fourth double page contains two photo frames made from fabric, embellished with wire and fabric elements.
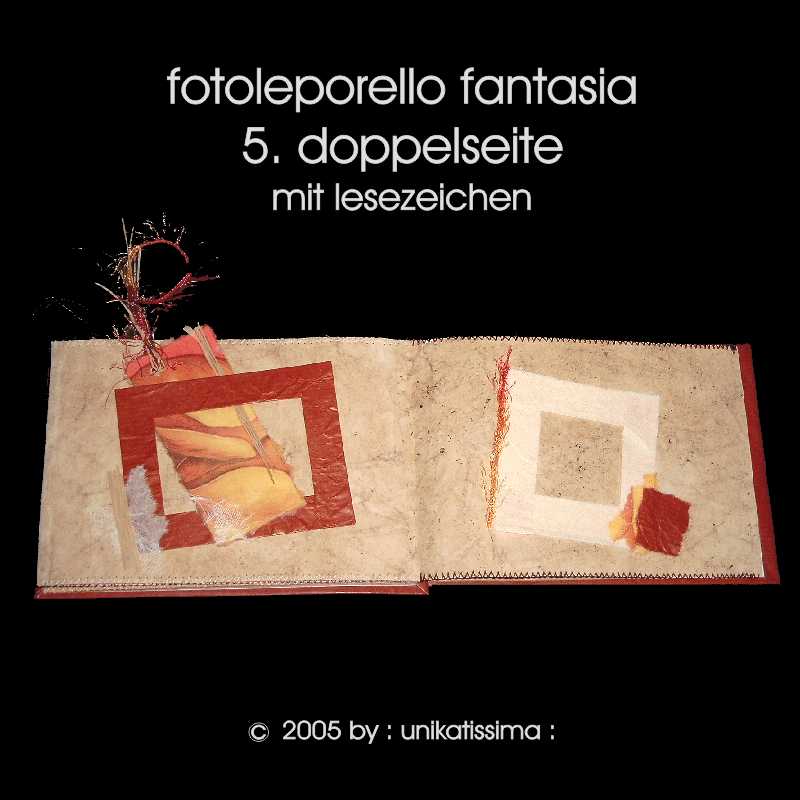 The fifth double page contains two photo frames made from handmade papers, embellished with funky yarns and elements from handmade paper.
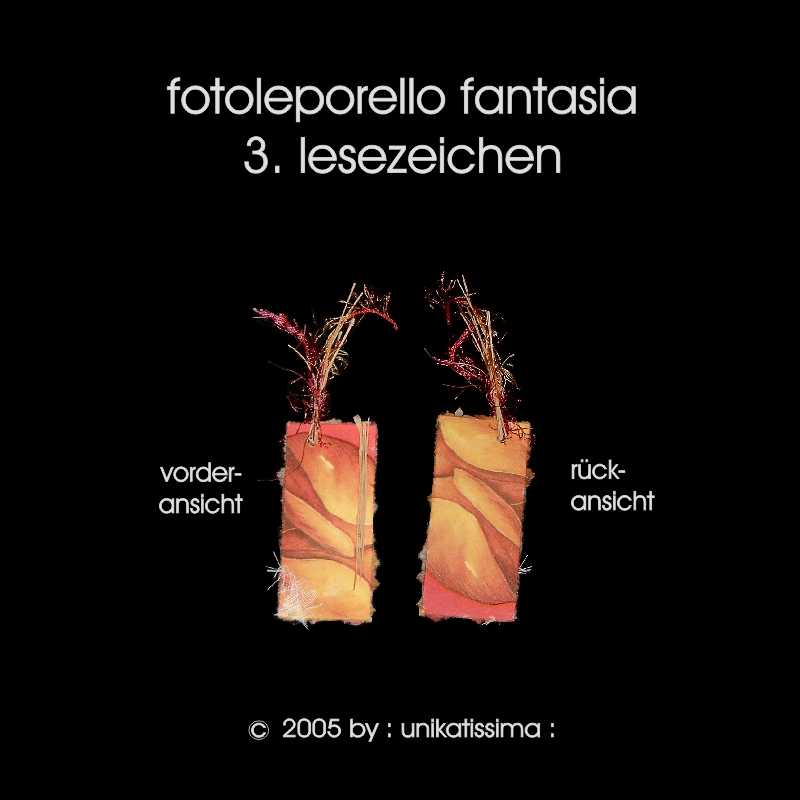 The third bookmark is made from patterned paper and embellished with different yarns and raffia.
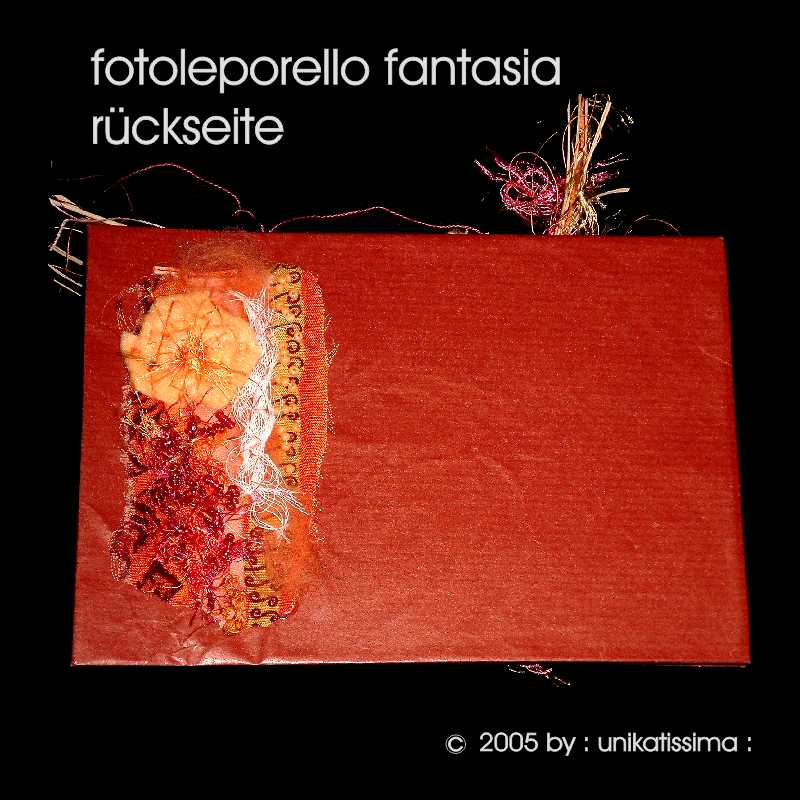 The back side is decorated with a handmade fabric collage.
 The mezuza case Schaumgeboren
consists of a little glass tube that is fixed on a sturdy white base. I encased the glass tube with a hand woven bead fabric in net technique and then embellished it strongly with bead fringes.
Length: ca. 12 cm