When working with polymer clay I always found the hints and tips at Glassattic immensely helpful.
They also inspired me to try new things.
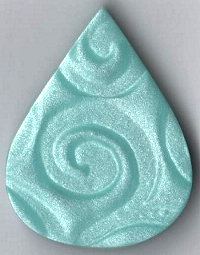
On the photo you see a detail of a candle holder that I once made. The yellow part was made from a kind of faux jade, then I carved shallow spirals and filled the carvings with black polymer clay.
Although I didn’t make the candle holder safe enough to be given away, I still love it. I sanded and buffed it thoroughly and it became very smooth, beautiful not only to look at, but also to touch.
Links:
Diane Black writes at Glassattic: “The site has many, many. lessons and projects, techniques (and ideas for variations on them), links to examples, tools that might be used, supply sources, tips for problem-solving, and special kids+beginners page and disabilities page.
It also has information on doing polymer clay as a business (shows, auctions, teaching, etc),. seasonal ideas, mixing media with polymer clay, polymer groups, creativity & inspiration, color mixing and making color blends, etc.”
The following links are examples of the many pages about polymer clay at Glassattic:
Faux Jade from polymer clay
Carving polymer clay
Sanding polymer clay
Buffing polymer clay


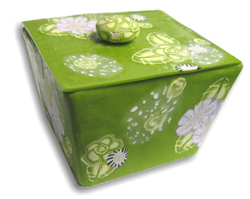
 On this picture you see one side of the box. The finger isn’t there by accident, but to show how small the box is ;-))
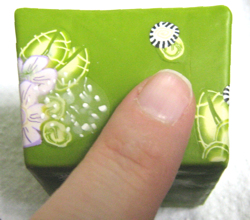
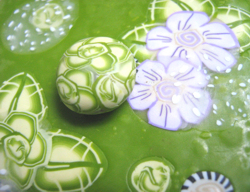 This is a close-up from the lid. You can see the purple
  Just a last close-up.