“When I’m grown-up, I’m gonna be a cardigan.”
;-))
Recently I had a talk about cardigans that are knitted or crocheted more or less as a big, round ‘rug’ and then simply worn.
Hard to imagine, isn’t it? ;-)
I had promised to present here tutorials for such things and I suggest that you check out one or two links, then you will know what I’m talking about ;-)
By the way I’m sure that these aren’t all, if you know more, I’d be glad if you’d put a reference into the comments.
- The first of this kind that I’ve ever seen:
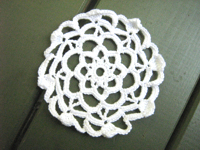
Giant Snowflake – not only worn as cardigan! - Lustrado Crocheted Pinwheel
via: ravelry pattern Lustrado Crocheted Pinwheel - Aphrodite Shawl
via: ravelry pattern Aphrodite Shawl – only nearly round but inspired by a crochet doily ;-)
Knitting:
- DROPS “Art Knitting”
via: ravelry pattern Art Knitting - Bed of Roses Shawl
via: ravelry pattern Bed of Roses Shawl - Pinwheel Sweater
via: ravelry pattern Pinwheel Sweater (Child) - Lara Pinwheel Sweater
- Elliptika (German) (scroll down to ‘2009-05-24’) – no tutorial but a description of such a cardigan, I found the photo particularly helpful that is linked in the text (roughly next to the first photo of this entry)
- Pinwheel Round Rug (PDF ca 888 KB) – ok, that’s really a rug but I think that it’s very suitable as a cardigan ;-)
via: ravelry pattern Pinwheel Round Rug
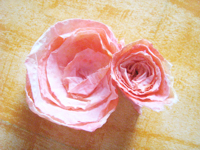
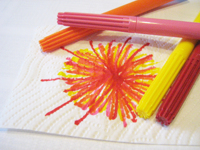 First I painted on a sheet of toilet paper with some markers.
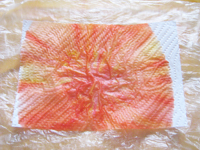 I dropped water on my ‘painting’, but it was a little too much water and everything swam.
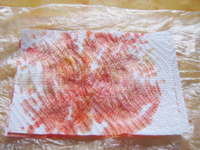 Therefore I put another sheet of toilet paper onto the first, the water and the dye dispersed on both.
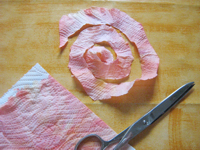 I cut my papers by guess and by gosh, that is to say without a pre-sketched spiral and my scissors were quite blunt.