… for looking here!
I am presenting here every day an instruction or an inspiration for crafters since February 2008, i.e. over 12 years(!), and now has come the time for me to do something else for a change.
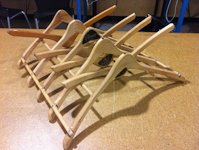
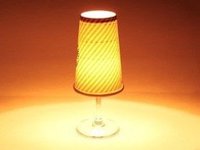
I let the blog as it is and now and again you can search for ideas for projects with wire, wax, plastic and more, look for collages, self-made tools (where I put amongst others shelves and coasters), lampshades in the broader sense and the like or browse for ideas, e.g. for the astoundingly many wreaths (which I actually don’t like so much ;-))
And now I leave you to browsing, take e.g. a look for the tags :)
Wishing you the very best
Susann (unikatissima)
Links:
Here at unikatissima:
Entries of February 2008
Entries with the tag ‘wire’
Entries with the tag ‘wax’
Entries with the tag ‘plastic’
Entries with the tag ‘collage’
Entries with the tag ‘self-made tools’
Entries with the tag ‘lampshade’
Entries containing the word ‘wreath’
Tag list here on the page