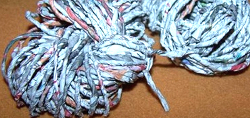
I continued to play around with the Crazy Daisies. It is so much fun and I’m working on a Crazy Daisy Scarf. On the photo you see my scarf.
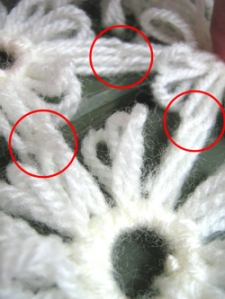 One thing I found out is that I love the little flowers much more without any edging. Therefore I’m joining them while working.
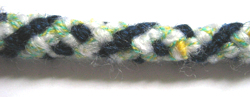
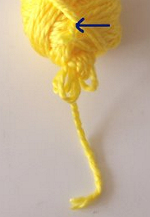
I’m measuring the yarn and wind the daisy. In doing so I’m pulling the thread immediately through the loops of the previous daisies using a blunt tapestry needle.
It takes a little longer, but this way I don’t have to assemble later and avoid the problem of hiding the ends.
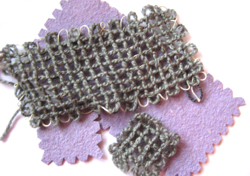
 The other thing I played around with is another cardboard loom. In my first Crazy Daisy entry I used a cardboard version of the ice-cream-lid-loom.
Later I found other daisy looms and created my cardboard version of it. It works very well.

My cardboard loom consists of 2 cardboard disks. I taped them together and put 12 pins between both disks. I can then wind a daisy and when finished I pull the pins out. For the next daisy I put the pins back in my cardboard loom.
Note: I found out, that the disks must be very tightly taped, otherwise the pins fall out.
I always use the same pin holes and this way the tape won’t be damaged. I used my well taped cardboard loom over and over and don’t have any problems with the pins.
This way I can make my loom on the spur of the moment in the shape and size I need at the moment. I also tried a square one and the square daisies looked also nice.
Links:
unikatissima’s Crazy Daisies

 I would never actually buy a loom, therefore I made me one from – guess… – yes: cardboard! ;-)
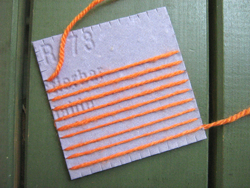
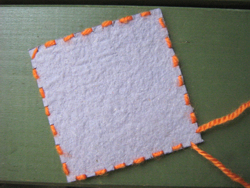 That’s the way my cardboard loom looks at the back side.
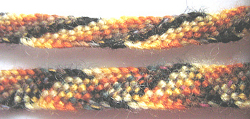
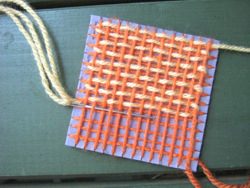 Now I’m weaving in one direction.
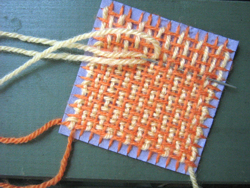 And here I’m weaving in the other direction.
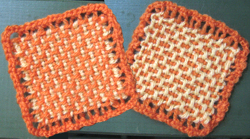
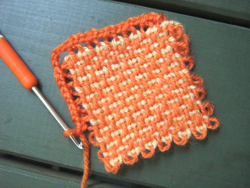 After having finished with weaving I crochet an edging to neaten the edge.