Papier Mache Recipes

Papier Mache Recipes

There are many recipes for making papier mache which I still want to try out.
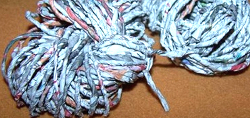
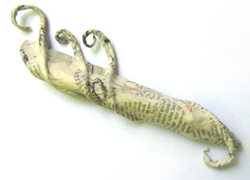
On the photo you see one of my many UFO’s ;-)
It is a wall-vase-to-be, made with tore newspaper stripes and ready to use wall paste.


Links:
At ‘The Papier Mache Resource’ :
Some Advanced Papier Mache Recipes (English)
Take also a look at the other tutorials, the articles and the galleries

More recipes:
(Google search results)
Search for ‘paper mache paste recipe’
Search for ‘papier mache rezept’

Image search for ‘paper mache paste recipe’
Image search for ‘papier mache rezept’

Hiragimi

Hiragimi

Once I found a tutorial on Hiragimi braid, but not only can’t I find it back, while googling for ‘Hiragimi’ I dind’t find anything.
Strange!
But at the tutorial the diagrams weren’t so good, so I sketched the diagrams again for myself.
And so you can download them now from here ;-))

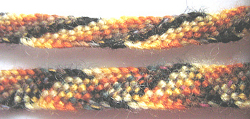
Hiragimi braid is similar to Kumihimo braid, but the braid won’t be round but flat (see photo).
When making my braid I found it most difficult to get the tension right, I always pulled more to one side than the other so that the braid became curved ;-)


Links:
unikatissima’s Hiragimi (PDF, ~460 KB)
The PDF includes a template for a cardboard disk respectively card (at the end of the file) and a description for braiding the pattern that you can see on the photo

unikatissima’s entries:
Kumihimo
Kumihimo Beads
Kumihimo Edo Yatsu

Clothespin bobbins

Peyote Bangles

Peyote Bangles

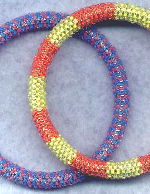
As I saw the tutorial on how to make Peyote Bangles tutorial on how to make Peyote Bangles I bookmarked it immediately.
It seems to be so easy (although this technique seems only to work with slender bangles) – just the right technique for me ;-))
There is another tutorial for stripes bangles tutorial for stripes bangles – looks also great.


Links:
Peyote Bangles
Striped Peyote Bangles

The original site doesn’t exist any more and is now available through webarchive:
Peyote Bangles
Striped Peyote Bangles

Folded Paper Strips of Equal Width

Folded Paper Strips of Equal Width

Sometimes you need folded paper strips of the same width, when weaving paper baskets e.g., making a magazine purse or perhaps when making accordion folds.
Making those strips can be a time-consuming and frustrating experience – but it can be very fast and easy as well: Once I read somewhere (unfortunately I don’t remember where exactly) that you only have to roll your paper sheet over a dowel and then flat the paper roll.
Easy peasy, isn’t it? ;-)
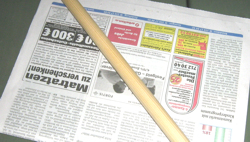
 

Folded Paper Strips of Equal Width You need your sheet of paper and a dowel.
I used here one of my giant knitting needles.
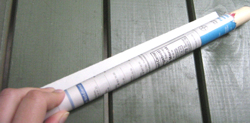
 

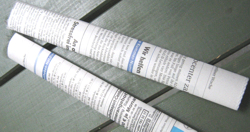
Folded Paper Strips of Equal Width Roll your sheet of paper on the dowel.


Folded Paper Strips of Equal Width Pull the dowel out of the roll and flatten the paper roll.
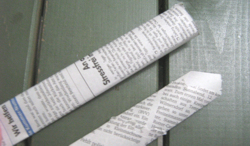
 

Folded Paper Strips of Equal Width This way you get paper strips which are of the same width over the whole length.
Once I made a bowl like these magazine bowls. I preferred the ends of my paper strips to be thinner then the center, so that everything is about the same width everywhere.
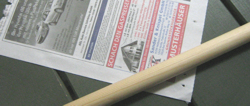
 

Folded Paper Strips of Equal Width Roll your sheet of paper diagonally on the dowel.


Folded Paper Strips of Equal Width The paper roll gets longer, but the ends are thinner than the center.
You can now overlap the strips and create a strong bowl.


Links:
Paper woven basket

At craftster.org:
Magazine purse
Magazine bowls

Google image search result for ‘magazine bowl’
Paperweaving Plus

Paperweaving Plus

Although I like it, I always considered paper weaving a bit dull. Then I saw Paperweaving Plus (scroll down until ‘Paperweaving Plus’) and found the results fascinating.
I liked especially the not-only-paper-weave which I have to try as soon as possible.


Links:
Paperweaving Plus (scroll down until ‘Paperweaving Plus’)

Weave paper stripes into a sheet of paper (English) (With explaining pictuers)

If you also think, that paper weaving is a little dull, take a look at the flickr results for ‘paper weaving’

Crazy Daisies II

Crazy Daisies Scarf

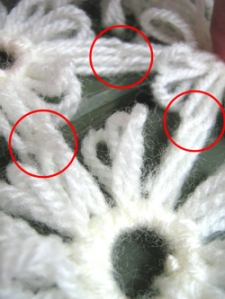
I continued to play around with the Crazy Daisies. It is so much fun and I’m working on a Crazy Daisy Scarf. On the photo you see my scarf.


Crazy Daisies II One thing I found out is that I love the little flowers much more without any edging. Therefore I’m joining them while working.
I’m measuring the yarn and wind the daisy. In doing so I’m pulling the thread immediately through the loops of the previous daisies using a blunt tapestry needle.
It takes a little longer, but this way I don’t have to assemble later and avoid the problem of hiding the ends.


Crazy Daisies II The other thing I played around with is another cardboard loom. In my first Crazy Daisy entry I used a cardboard version of the ice-cream-lid-loom.
Later I found other daisy looms and created my cardboard version of it. It works very well.


Crazy Daisies II
My cardboard loom consists of 2 cardboard disks. I taped them together and put 12 pins between both disks. I can then wind a daisy and when finished I pull the pins out. For the next daisy I put the pins back in my cardboard loom.
Note: I found out, that the disks must be very tightly taped, otherwise the pins fall out.
I always use the same pin holes and this way the tape won’t be damaged. I used my well taped cardboard loom over and over and don’t have any problems with the pins.
This way I can make my loom on the spur of the moment in the shape and size I need at the moment. I also tried a square one and the square daisies looked also nice.


Links:
unikatissima’s Crazy Daisies

Tetrapak Coin Purse

Tetrapak Coin Purse

We’re drinking much apple juice and milk – and they come in tetrapaks. We must have ‘produced’ tons of it!
Therefore I love the idea of recycling at least on of them into an coin purse.


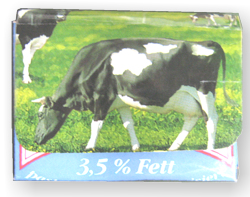
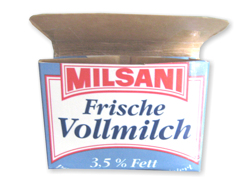
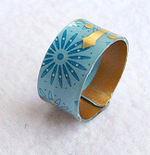
Tetrapak Coin Purse On the photo you see my first attempt (still without button): it’s such a nice idea :)

Links:
Tetrapak Coin Purse


Bottlecap Pincushions

Bottlecap Pincushions

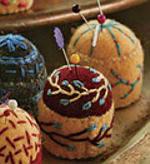
I really love those tiny pincushions, just like the Recycled Pincushion Ring.
Now I found a tutorial on how to make bottlecap pincushions – great!
A little Google research (websites and images) showed me that many people make such cute bottlecap pincushions.
Perhaps I will make one, too – one day? ;-)


Links:
Bottlecap Pincushions

Google search results for ‘bottlecap pincushion’
Google image search results for ‘bottlecap pincushion’

Here at unikatissima:
Recycled Pincushion Ring