Printed Pictures on Candles

A Girl In Paradise Printed Pictures on Candles

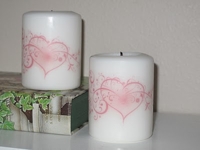
To design candle light with your own pictures I presented the faux quilt votives and the clip art candles before.
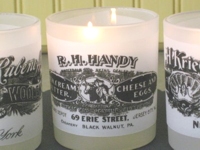
Here it goes a step further because you actually transfer your self-printed pictures to the candles.


Links:
Printed Pictures on Candles (Transferring Ink to Candles)
via: Transferring Ink to Candles – Personalized candles (just need wax paper, tissue paper, sharpies & hair dryer)

Here at unikatissima:
Faux Quilt Votives
Clip Art Candles

Owl Lantern

SirLadySketch Owl Lantern

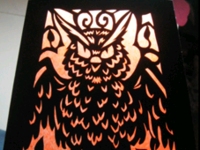
After having presented another owl yesterday, I found it convenient to present the owl votive today: isn’t it beautiful?


Links:
Owl Lantern (Halloween Paper Lantern Tut.)
=> there you find among others also the link to the complete lantern (Happy Halloween 08)

Here at unikatissima:
Owl
Entries with the tag ‘owl’

Mosaic Table Light

bastelfanatiker Window Colour Mosaic

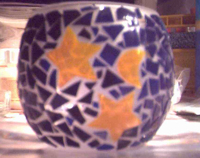
I found an instruction on how to make glass table lights with translucent mosaic. They are made in an interesting and easy way with Window Colours*, but of course you can do this with translucent polymer clay as well.

* Window Colours are those glass paints that come in plastic bottles and can be used on acetate, I don’t know the exact English name.


That’s how they do it:
(see images on instruction site for better understanding)

  • You make from the glass paint a layer of about 1 mm on plastic foil and let it dry thoroughly.
  • When dry and not sticky anymore (after about 3 days), you cut it in mosaic pieces.
  • You can glue now the pieces on glass (with Modpodge e.g.).
  • Fill the little gaps between the mosaic tile with tile filler (follow the instructions).
  • Afterwards you can cover your glass with varnish to make it shine.

One day then… Sigh.
;-))


Links:
Mosaik mit WindowColour (German)
votive

Plastic Straw Lantern

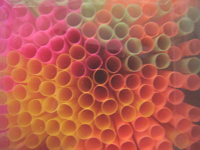
Plastic Straw Lantern from Ironed Straws

A long time ago I found a tutorial on how to make a lantern from plastic straws. I even tried it and it worked fine. But I gave the lanterns away without taking any photos ;-(

The instruction is in German with illustrating photos.


Here is a translation:
Material:

  • Plastic drinking straws
  • Parchment paper
  • Iron
  • An old wooden tray
  • Scissors
  • Double-sided tape
  • Tealight

That’s what you have to do:

  • Lay the parchment paper on your working space, perhaps lay even the old wooden tray underneath.
  • Lay the plastic straws neatly on the parchment paper and lay another layer of parchment paper on it.
  • Iron on highest setting, but without steam over the parchment paper on the plastic straws. The straws will melt.
  • If everything became flat, let the plastic cool down. You can hear that they cool because there is a cracking noise.
  • Carefully release the straws from the parchment paper.
  • Cut the ‘mat’ with the scissors in the form you want.
  • Fix the ends with the tape and put a tealight into.

What I learned when testing it:

  • Best iron in an well ventilated area, because there are (toxic?) vapours.
  • The ironed straws are very, very hot, so make sure to let them cool down thoroughly.
  • Never iron plastic directly, but put always some parchment paper between iron and plastic to protect the iron.
  • Make the lantern big enough, so that it can’t inflame from being to near the flame of the tealight.


Links:
Plastic Straw Lantern (German)
votive