Fantastic Pop Up

Libros Pop-Up Books Cards Fantastic Pop Up

This time I find the title absolutely convenient: I find this pop up really fantastic!


Note: The PDF links can’t be reached anymore, apparently amongst other things because of copyright infringements.
After all we have to buy the book ourselves :)


Links:
Descarga Gratis Libro Phantastische Papier (Kirigami) de Ramin Razani en Formato PDF Free Download – at the end you find links for the actual download of the file (German).
I downloaded the file here.

Positive-Negative Card

unikatissima Positive-Negative Card

While searching my instructions I found Positive – Negative Pumpkin! back and thought: ‘Yes, that’s exactly right for a snowman’.
It’s cute, isn’t ist??


unikatissima Positive-Negative Card
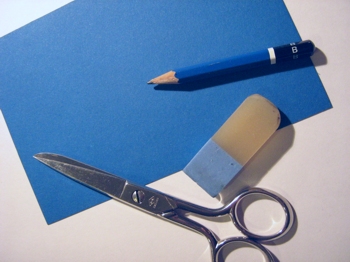
You need a coloured card for the background, white paper, pencil and scissors (or X-acto knife).
I always need an eraser, too ;-))


unikatissima Positive-Negative Card
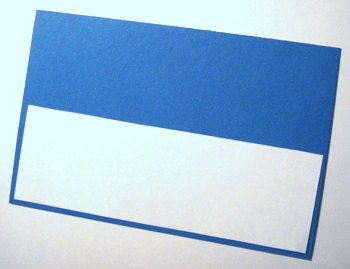
First I trimmed the paper to the right size.
I left a small border to the edge of the actual card because I like it better this way.


unikatissima Positive-Negative Card
Then I sketched my snowman.
I made a PDF file (~ 55 KB) from my snowman template, so you can make your own snowman card :))


unikatissima Positive-Negative Card
Here I just layed the elements out – they still have to be glued on.


unikatissima Positive-Negative Card Finally I pricked two holes in the card left and right of the neck and pulled two threads of wool through, that I knotted under the snowman’s ‘chin’.
I still like him everytime I see him ;-))


Links:
Template for snowman PDF file (~ 55 KB)

Positive – Negative Pumpkin! – scroll down to ‘Kid’s Korner’

Staple Together Little Notebooks

unikatissima Staple Together Little Notebooks

Another very dear friend sent me the link to the inventive technique on how to staple together little notebooks.

I tried it: It works great! And fast! And neat!
;-)

At any rate it is a really great idea that I’m glad to spread.

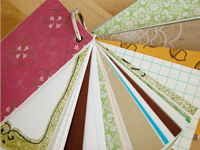
Playing cards could well serve as cover here ;-)


Links:
Staple together little notebooks (Tell me if you’ve seen this one before.)

Here at unikatissima:
Accordion-Style Playing Card Notebooks
more entries with the tag ‘books’

Making Paper Beads

unikatissima Doodled Paper Beads

After I’ve made my paper beads roller that I presented yesterday I played around with paper beads a little more.

I prefer the tube beads anyway (marginally ;-)) and after having seen the paper bead designer I thought: ‘Yes, a little bit of colour is enough, you can’t see the rest anyway.’

So I quickly made me some doodle paper beads ;-)

And that’s what you do:
 

unikatissima Doodled Paper Beads
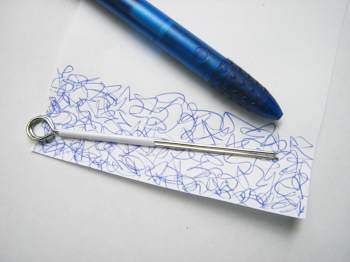
First I took two sheets of plain printer paper and simply doodled at one side with a blue ballpoint pen.
 

unikatissima Doodled Paper Beads
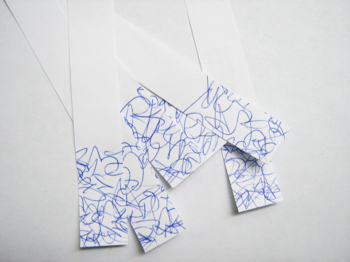
Then I cut the sheets in strips of the same width…


unikatissima Doodled Paper Beads
… and rolled my paper strips with my nifty paper bead roller in a wonderful short time.
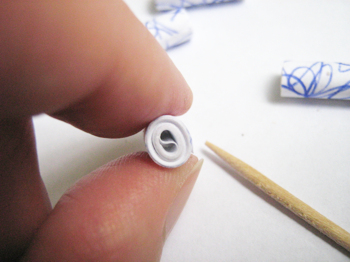
 

unikatissima Doodled Paper Beads
Of course the hole of the bead is split into two holes, too, because my bead roller consists of two halves.
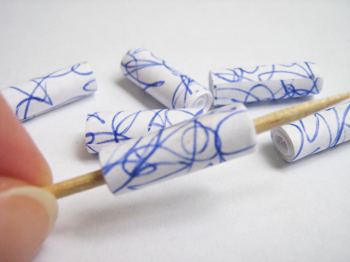
 

unikatissima Doodled Paper Beads
I ‘stirred’ the hole again with a toothpick so that only one big hole remained.


unikatissima Doodled Paper Beads
Somehow I didn’t want to use the glue excess as varnish for the beads, so I used a simple glue stick and covered the beads afterwards with medium gel. Here you can see them drying.
My potted palm got special leave on my balcony for it ;-)
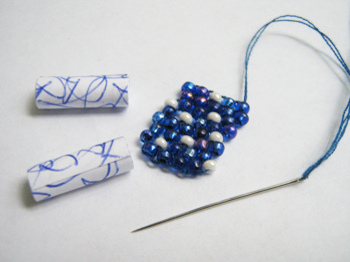
 

unikatissima Doodled Paper Beads
Although I find my doodled paper beads beautiful I thought that I would look boring if I string only them, therefore I made some additional easy Peyote beads.
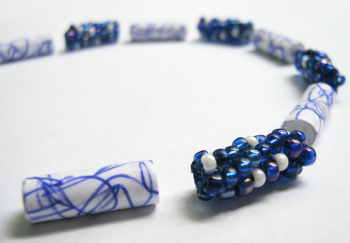
 

unikatissima Doodled Paper Beads
Looks good, doesn’t it? ;-)
I wasn’t sure yet what I would do with my beads on this photo.
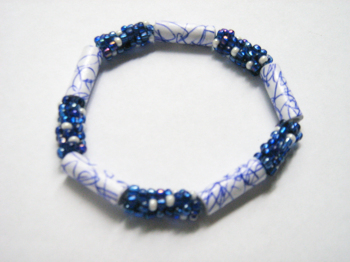
 

unikatissima Doodled Paper Beads
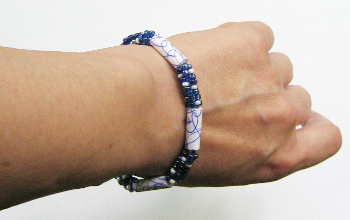
It became a bracelet in the end. I simply strung the beads on an elastic and hid the knot in a bead.


unikatissima Doodled Paper Beads
And here an ‘action shot’ ;-)
It’s not so easy to take a good photo of your own arm ;-))


After I had finished with my doodled paper beads I thought, that this was a great way to make a lot of matching paper beads from advertising flyers.
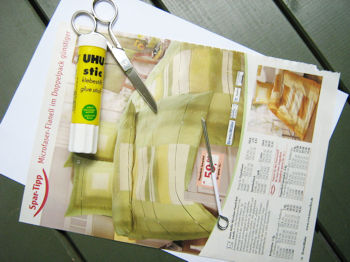
 

unikatissima Magazine Paper Beads
So I picked an ad with a photo of bed sheets where I liked the clour scheme.


unikatissima Magazine Paper Beads
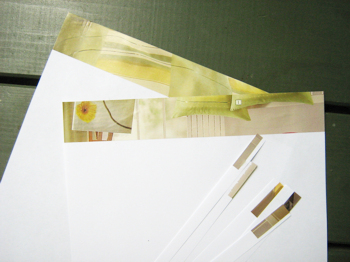
Then I measured the circumference of my doodled paper beads with a string and cut strips from the ad a little broader than necessary.
 

unikatissima Magazine Paper Beads
I glued the strips from the ad at one side of a plain printer paper sheet and cut the resulting papers in (in this case) 1 cm broad strips, because I wanted to have little beads.
 

unikatissima Magazine Paper Beads
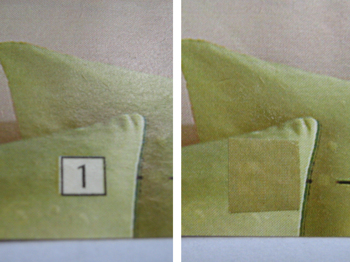
I glued some patches from the rest of my ad on details that I didn’t like, they won’t to be seen on the bead.


unikatissima Magazine Paper Beads
Here my beads are drying on a wire because I cut about 80 paper strips and I don’t have enough toothpicks or plants for the drying process ;-)
This time I used a water-based craft glue that glues fast but dries slowly.
This is great because I could varnish my beads easily with the excess of the glue which made them shine and when my fingers eventually got sticky I could wash the glue easily away with water.
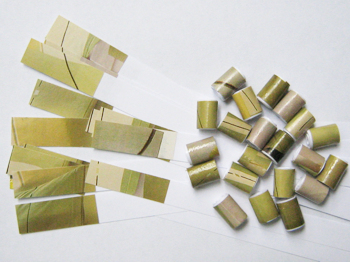
 

unikatissima Magazine Paper Beads
I have not yet finished, but I find my paper beads beautiful, a little bit like made from Jade.
We will see what they will become :)


Links:
Paper Bead Designer

Peyote Bead (Beaded Bead)

Here at unikatissima:
Paper Beads Roller
Entries containing the words ‘paper’ and ‘bead’
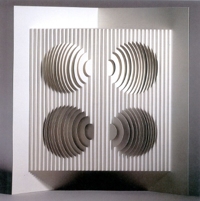
Simple Pop-Up Card

unikatissima A Simple Pop-up

Recently I re-discoverd the website of Lisa Vollrath whose tutorials I always found really great.
When I saw her ‘A Simple Tabbed Pop-Up’ I wanted to try it immediately.
But then it started: No, I don’t want to make an Eiffelturm, but something else. But what? Somebody wrote something about sail boats in the comments.
Ok, good idea.
Ehm, the toner of my printer won’t suffice to print something.
Hmm, Lisa said that actually it doesn’t matter how large the tabs are…


unikatissima A Simple Pop-up
Thus I took an A4 paper horizontally and my Xacto knife and startet to cut a sail boat and the sea.
I find my card for a try on the spur of the moment quite nice, but I haven’t decided yet what to put on the front side ;-)


Links:
At Go Make Something: A Simple Tabbed Pop-Up

Paper Flower

unikatissima Paper Flower

I found an instruction for a nice paper flower and thought that this should work with self-coloured paper, too.
It did ;-)


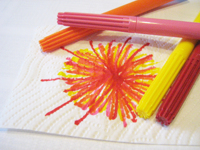
unikatissima Paper Flower First I painted on a sheet of toilet paper with some markers.
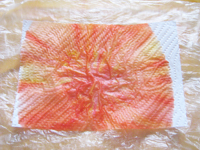
 

unikatissima Paper Flower I dropped water on my ‘painting’, but it was a little too much water and everything swam.
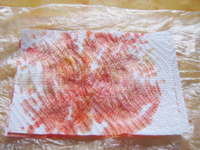
In order not to get everything dirty I have put it luckily on an old little plastic bag.


unikatissima Paper Flower Therefore I put another sheet of toilet paper onto the first, the water and the dye dispersed on both.
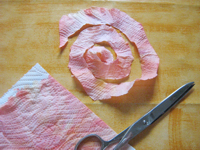
I blow-dried everything to dry it faster ;-)


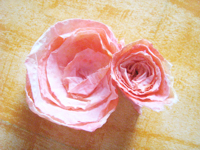
unikatissima Paper Flower I cut my papers by guess and by gosh, that is to say without a pre-sketched spiral and my scissors were quite blunt.
 

unikatissima Paper Flower That may be the reason why my little ‘roses’ look so beautiful ;-)


Links:
Paper Flower – the tutorial works backwards, you must always click the previous picture to get the next step

Card with Paper Ornament

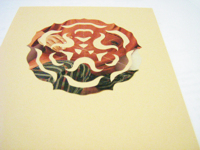
unikatissima Card with Paper Ornament

I found the umpteenth instruction on how to cut a snowflake from paper, but this time the snowflake looked so much more beautiful than usually.
I made immediately a card with non winterly coloured advertising junk mail paper :)


Links:
Fidgety Fingers: Magazine Manifesto – Paper Snow

Here at unikatissima: Kirigami Flower

Ugandan Weaving

unikatissima Ugandan Weaving

A long time ago I found a tutorial on how to make bookmarks with Ugandan Weaving, but the site doesn’t exist any more and I couldn’t find it in internet.
Therefore I wrote something myself.


That’s what you do:
unikatissima Ugandan Weaving First of all you must cut the paper stripes.
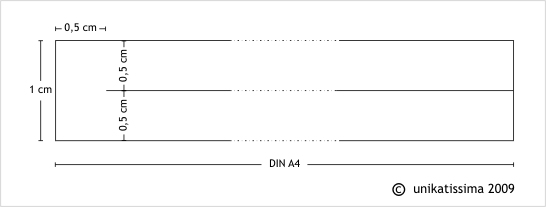
Take two coloured DIN A4 sheets and cut them in stripes of 1 cm.
Slit them in the middle, but let at one side a little piece (0,5 cm) unslit so that the stripes don’t fall apart.
You can see this best on diagram 1 (click to enlarge).


unikatissima Ugandan Weaving Then lay the stripes side by side and weave them as seen in diagram 2 (click to enlarge).
I sketched it as if there were 4 colours, that looks also nice.


unikatissima Ugandan Weaving When all stripes are woven fold the outer stripes back and weave on (see diagram 3, click to enlarge).


Continue until you’re satisfied.
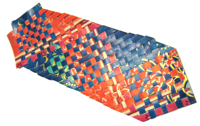
You can see on the photo on top that I haven’t read the instruction thoroughly: I didn’t take stripes of 1 cm but much broader ones, although I slit them every 0,5 cm, too.
The disadvantage is, that the stripes are pushed apart and therefore the beginning (left of picture) doesn’t look very nice (although I took the photo so that it’s not to be seen ;-)).
When you take the 1 cm stripes which are slit once this effect doesn’t occur.
I taped the ends together with clear tape.
And I made the coloured papers by glueing two Christmas gift wrap papers together :)


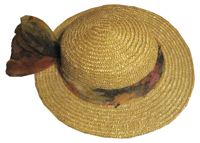
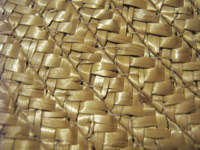
unikatissima Woven Straw Hat unikatissima Woven Straw Hat Detail

While writing this entry I noticed that my straw hat (that I only use as decoration now) is made in a quite similar way. They wove a long strip in a kind of Ugandan weaving and sewed this strip together in spairals.
Very easy ;-)


Links:
Original site where I found the tutorial for Ugandan Weaving. When I tried it, it didn’t exist any more.
The site has been saved by webarchive.org, but without the (important!) diagrams: site without diagrams (note: very long loading time).

Mini Recycle Bin Books

erinzam Mini Recycle Bin Books

People who craft a lot with paper often have many interesting papers laying around, but mostly scrap you can only make cards from.
But now I found a tutorial on how to make mini recycle bin books, which I find great!

Soon I will have to comb through my piles ;-))


Links:
Mini Recycle Bin Books

Easily Remove Pages From Books

unikatissima Easily Remove Pages From Books.jpg

If you want to make Altered Books or Artist Books, or maybe book purses, or you want possibly remove individual book pages to make a beautiful card, then the tutorial on how to easily remove pages from books may be helpful: you moist a thread, lay it into the book at the place where you want to remove a page, close the book firmly, so that the moisture can enter the paper and then you can tear the paper cleanly.
It’s the same principle as for tearing paper, but here the moist line is certainly straight and much thinner.
Ingenious!


Links:
At instructables: How to easily and cleanly remove pages from books

Here at unikatissima:
Artist Book
Notebook Purse
Tearing Paper