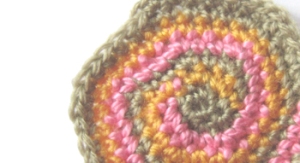
Sometimes you want to crochet not only a spiral, but a multicoloured spiral (beautiful in Freeform Needlework!).
I once found even two tutorials for crochet spirals, but the links don’t work anymore (I put them to the Links below in case you like to try them).
But because I didn’t found no more instructions I wrote a tutorial myself based on the previously found tutorials:
You will need 3 skeins of yarn in matching gauges.
Work in spirals, though NEVER JOIN!
st = stitch
sc = single crochet
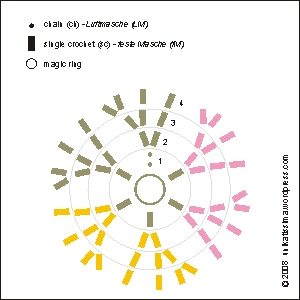
1st row: work 6 sc on magic ring
2nd row: work 2 sc in each st = double each st = 12 st
work the 1st 4 st in colour A, the 2nd 4 st in colour B and the 3rd 4 st in colour C
3rd row: work * 1 sc, 2 sc in next st *, repeat from * to * = double each 2nd st = 18 st
work the 1st 6 st in colour A, the 2nd 6 st in colour B and the 3rd 6 st in colour C
4th row: work * 1 sc, 1 sc, 2 sc in next st *, repeat from * to * = double each 3rd st = 24 st
work the 1st 8 st in colour A, the 2nd 8 st in colour B and the 3rd 8 st in colour C
cont.
(Click picture to enlarge)
 Hints:
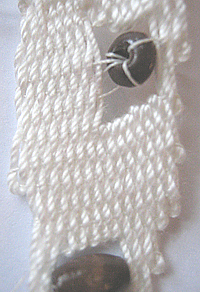
- At the colour change pull the loop of the ‘old’ colour into a large loop that you lay aside until you pick it up for the next round (see detail photo with loops).
- The spiral gets hexagonal when worked this way. If you want to avoid this, move the place where you work two stitches in one stitch a little around (see photo above).
(Click picture to enlarge)

Links:
Both links didn’t work when I tried them:
Crochet Spiral
Crochet Spiral
Magic ring
(Google results)
The Magic Adjustable Ring: A Better Way to Begin Crochet in the Round: very good illustrated instruction
Häkeln lernen: Der Fadenring (German)
Here at unikatissima:
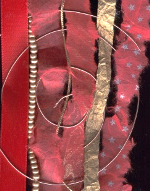
Freeform Needlework

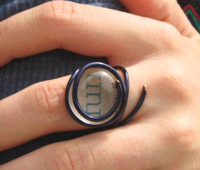


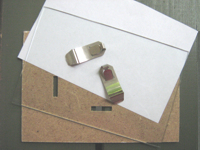 I used a simple glass frame as seen on the second photo that I already had at home and glued a kind of


